Showing posts with label recipe. Show all posts

Friday, December 13, 2013

Day 13- Scrub Your Cares Away

Hello and welcome to Day 13 of Advent Countdown. Today I have another DIY for you all. With a similar theme to my candy cane soap, the scent stays the same, but instead of a soap, we have:

Candy Cane Sugar Scrub

Now this project is ridiculously quick and easy. Here's what you'll need:


1 cup of granulated sugar   

1 cup of vegetable oil

1 vitamin E capsule

Peppermint essential oil

1 teaspoon pure vanilla bean paste

An air-tight container for the scrub

This is a recipe I found on My Kitchen Addiction. All credit there. So let's get started.


1. Mix all the ingredients together in a bowl. For the vitamin E capsule- cut it open with scissors/knife and squeeze out the oil into the bowl.

Use as much or as little peppermint oil as you desire, until you're happy with the scent. It shouldn't take too much. That stuff is strong.


2. Stir all the ingredients together with a spatula until combined. That's it. You're done. 


3. Pour the scrub into your container. I bought these jars from Amazon. You can find them here . They were quite a bit bigger than I thought. I doubled the recipe to fill them this much. I'd suggest maybe the small version. I actually wanted a medium size, but couldn't find one available. Alternatively, if you don't think the large is big enough, they also have an extra large version. Other than that, the jars are lovely. Thick, strong glass, and subtly elegant. Definitely worth the money.


And you're done! Make sure you stir before each use (as the oil and sugar will separate). I added little labels with 'how to use' instructions onto mine (as they were gifts). Simply apply a small amount to the skin and rub in. Leave on for 3-4 minutes for ultimate use, then rinse. You can use it on hands or body. 

I test-tried a little of the extra and found it works nicely. It exfoliates and moisturisers. Exactly what you want from a scrub. Let me know if you try this one out yourself. 


I hope you all enjoyed this quick, easy DIY. I'll be making another batch for myself soon. I couldn't resist. Thank you for joining me for Day 13. I'll see you all tomorrow for Day 14 of Advent Countdown. 


Wednesday, December 11, 2013

Day 11- The Colours of the Season

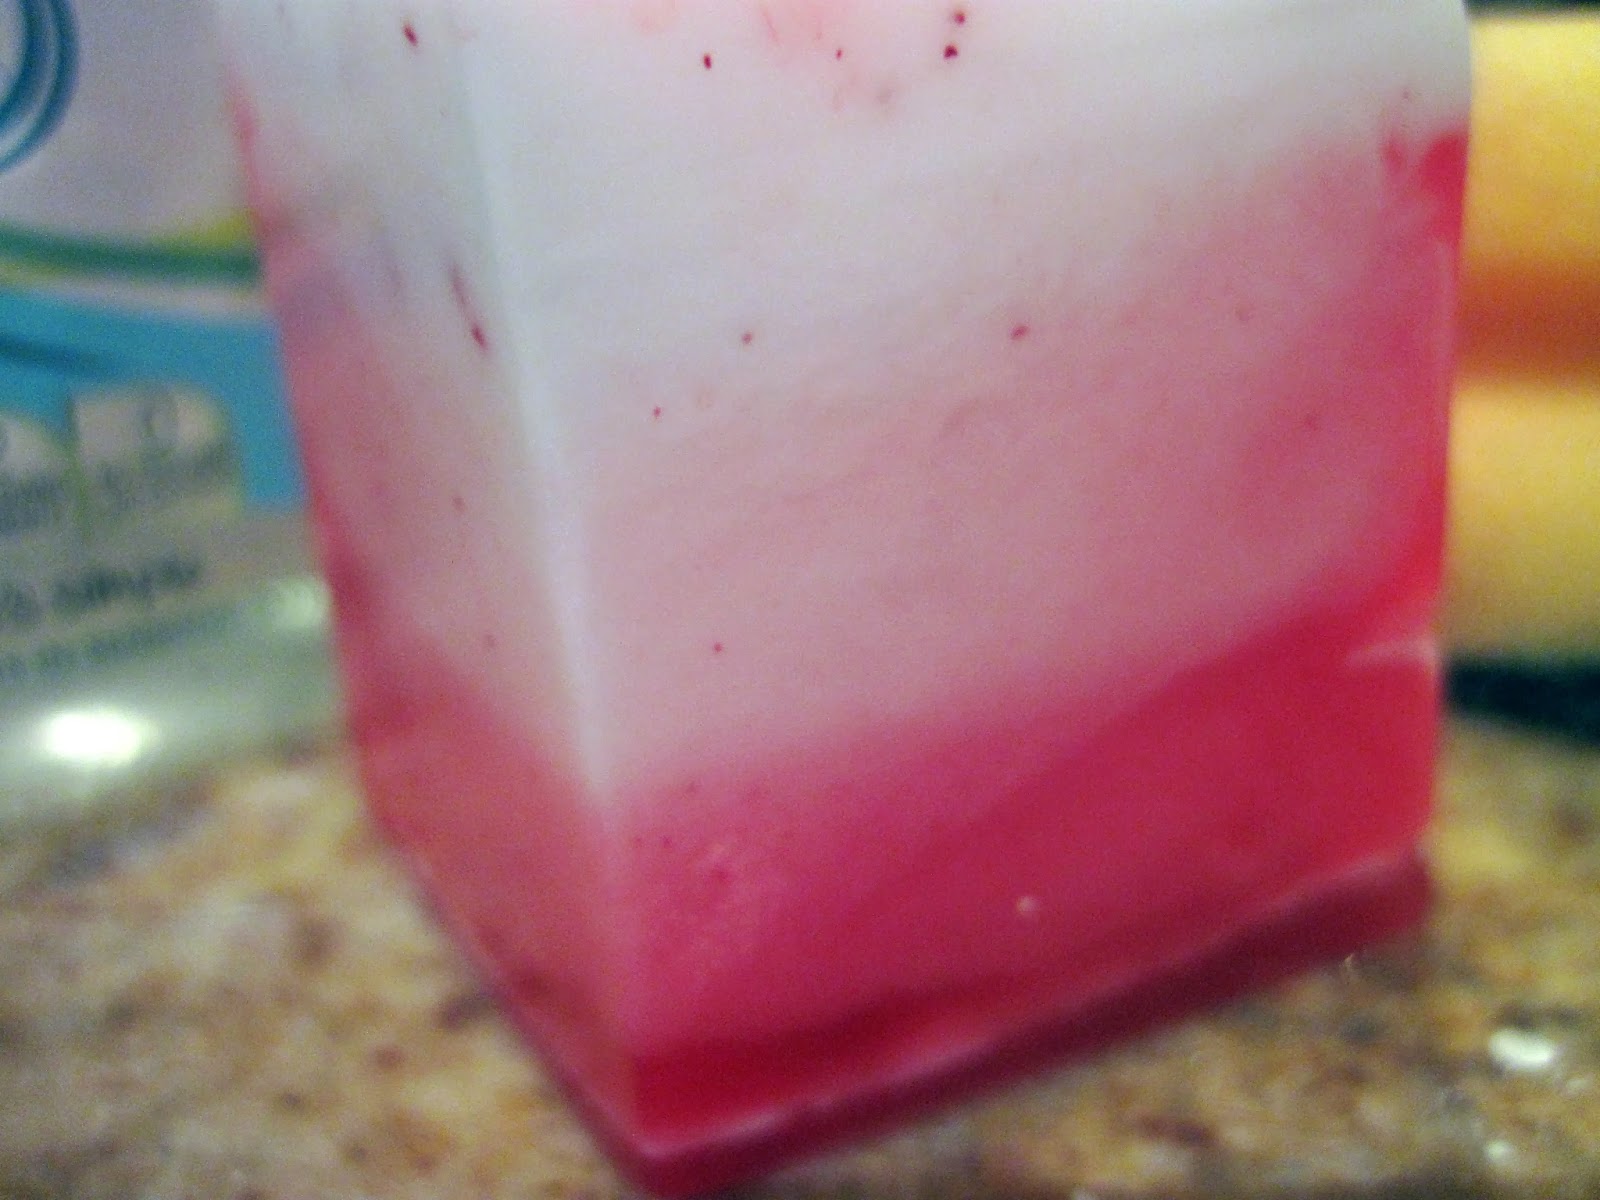
Welcome to Day 11 of Advent Countdown. Today I have another seasonal DIY for you- Candy Cane Soap.

Now, please bear in mind that this was my first ever attempt at soap making, and I was learning as I went. I have a few tips for how I would do things differently if I could do it again, but at least you can make those tips useful. I used a recipe from the Land of Nod blog. You can find the original recipe here. All credit to Darcy. This is my attempt.

So let's begin. First off- ingredients.

You will need: (FYI I ordered all my materials from The Soap Kitchen. I'll link each ingredient on the list). You can change the amounts to suit you. I've put the amount I used for my project.

A block of clear glycerin (I chose 500g)

A block of white glycerin (I chose 500g)

Peppermint Essential Oil (I chose a 10ml bottle- which was more than enough. A 5ml bottle would probably be fine for this project).

Red Food Colouring or Soap Dye  (I bought soap dye. 10ml was more than enough).

A mould for your soap (It's the first one. Reference: 655. I chose the medium one, which was way bigger than what I wanted. I'd definitely pick the small one next time. You can use bowls or anything you have around the house, but moulds are easier to remove the soap from).


How to Make:


1. The first thing you're going to do is melt both the glycerin blocks in the microwave (in separate containers obviously). Place both containers (if you're microwave is big enough) in, and heat for 40 seconds. Continue to heat with 20 second intervals, until the blocks are completely melted. This will probably take a few minutes.


2. Mix your red dye into the clear glycerin (I used toothpicks to do this just in case) until you've reached the desired colour.


3. Add a few drops of peppermint oil to both glycerins, until you've reached your desired amount of peppermintiness. 


4. Next pour whichever colour you want to have on the top of your soap into the mould. I used white first. You
can create as thick or thin a layer as you want. I wanted multiple layers, so tried to keep my layers thin. You want to wait a few minutes for the layer to set. I waited five- which I don't think was long enough, as the layers mixed a little. I would suggest waiting ten minutes for each layer to set, unless you want the colours to mix. Repeat this step until you have a completed mould of layers.


I had some glycerin left over, so I decided to pour one layer each of white and red into a small bowl- to create a kind of snow globe shaped soap.


5. Leave you soap to set. I left mine overnight to be on the safe side. Then you can just pop your soap out of the mould. A tip for those who want to use their own moulds from bowls, etc. The soap came out of the mould easily, but I had to struggle a little bit with the bowl. I had to use a knife to cut around the edges, and then a spoon to lever it out. It's not that difficult, but it's best to know these things. 

6. Now you can finish with the last step, or you can follow with this one. Cutting up the soap. My mould was way too big, so I used a large kitchen knife to cut it into more appropriate pieces. All very easy. Here's the finished product:


And that's all there is to it. You can see my layers are not so clean cut, and mixed a little, but as I said, longer waiting times between pouring in new layers would easily solve this problem. As to how the soap washes? It lathers well, and cleans well- though I would say it maybe leaves a thin film on the skin. 

I hope you all enjoyed today's instalment of Advent Countdown. See you tomorrow for Day 12.

Monday, December 9, 2013

Day 9- Sugar Cookie Extravaganza

Welcome to Day 9 of Advent Countdown. Going up a little later in the day, and you'll soon see why.

I have been baking all day today- in preparation of this post. Here are the results:

I wanted to give all of you another recipe, but unlike my Parisian Hot Chocolate one, I wanted this one to be more specific to the time of year (and there are photos this time). So what did I come up with? Sugar Cookies. Simple, basic and delicious. I used a Real Simple recipe for them, which can be found here. If I changed anything it'll be noted below, but all credit goes to them.

First off: ingredients. Here's what you'll need to make your own delicious treats:


2 1/2 cups of flour (I used a gluten-free flour (as I am a coeliac))

1/4 teaspoon of baking soda

1/4 salt (I left this out)

1 cup (225g) of unsalted butter (room temperature)

3/4 cup sugar

1 egg

1 teaspoon of vanilla extract


1. The first step is to mix together the flour and the baking soda in a medium bowl. Set aside.


2. In a large bowl (or the bowl of an electric mixer), cut the butter up into small squares. Add the sugar. Beat together until smooth. If you have an electric mixer, it's definitely the way to go. However, I don't own one, and so had to make do with a hand mixer- which works fine too.


   3. Add the vanilla and the egg, and beat until fluffy.


4. If you're using an electric mixer, put it on a low speed.  Slowly add in the flour mixture. If you're using a hand-held mixer like me, you might want to do this in three instalments like I did. Mix until just incorporated. 


 5. Form the dough into a disk, then wrap in cellophane and refrigerate for at least 1 hour. I left mine in overnight.


6. Once your dough has refrigerated, you can remove it (preferably about 20 minutes or so before you actually plan on using it). Set the oven for 180 degrees celsius (350f). Lightly flour your clean work surface, and then roll the dough flat, until your desired thickness is reached. Remember, the cookies will rise. I like mine pretty thin, so that's how I rolled my dough. 


7. Now comes the fun part. Choose your cookie cutters and get stuck in. Once you've cut all you can out of your sheet of dough, gather it up into a ball and then roll it out again. You can do this multiple times before the dough runs out.  


8. Now you can bake them. Place them on baking sheets covered with parchment paper, then put them in the oven for 12-15 minutes, until just beginning to brown. Let them cool for 10 minutes or so. This is especially important for sugar cookies, as they are quite fragile just out of the oven. Once cooled, you are free to decorate as you wish. I have not decorated mine yet, as I'm still deciding on frosting type or even if I want any. 


The recipe I used said one batch was 18 cookies. As you can see, mine made a lot more. (This is two batches FYI, but each one made at least 30, if not more). They are crumbly, hard and delicious. 


If you try these out, please let me know. They make lovely gifts if you're on a budget, or if you want easy gifts for 'acquaintances'. I had a great time making them, and listened to an 'I'm Sorry I Haven't a Clue Christmas Special' (if you know what this is, I love you)  during the process. Together, they've really put me in the mood for a fast approaching holiday.

I hope you all enjoyed today's (a little late) entry. See you all tomorrow (today) for Day 10 of Advent Countdown. Eeek! Double digits already!

Tuesday, December 3, 2013

Parisian Hot Chocolate Recipe for the Cold, Winter Nights


Hello everyone and welcome to Day 3 of Advent Countdown. Today I've got a recipe for you all. In lieu of photos I bring you this seasonal drawing- which took me a lot longer to create that I thought it would. Well anyway, into the recipe.


Thick, creamy Parisian Hot Chocolates are actually surprisingly easy to make. All you need is:


130g Dark Chocolate (preferably 70%) (in squares)
2 cups milk (I use semi-skimmed, but you can use skimmed or whole. Whole will be thicker and skimmed the opposite)

Optional:

Brown sugar
Vanilla Essence
Cinnamon

So you see, it really couldn't be easier. Here's how you make it.

1. Heat the milk in a saucepan.

2. When it's warm to the touch add the chocolate and whisk until melted. To make the hot chocolate thicker, cook at a very low boil for longer. A thick hot chocolate normally takes 3-5 minutes. Whisk constantly. 

3. Add brown sugar to taste (normally a couple tablespoons or so).

4. Add vanilla essence to taste (normally 1/4 to 1/2 a teaspoon)

5. Add cinnamon to taste. Just a sprinkle because it's strong. 

Serve immediately. Though it can be reheated, and some are of the opinion that it tastes better when left a little while.

And that's all there is to it. I told you it was easy. You could even add cream if you wanted- for a truly decadent drink, but I think it's rich enough for me without adding any.  If you try it out, let me know what you thought and whether you added any different ingredients. 

Well everyone, that was Day 3 of Advent Countdown. See you all tomorrow for Day 4.