Welcome to Day 11 of Advent Countdown. Today I have another seasonal DIY for you- Candy Cane Soap.
Now, please bear in mind that this was my first ever attempt at soap making, and I was learning as I went. I have a few tips for how I would do things differently if I could do it again, but at least you can make those tips useful. I used a recipe from the Land of Nod blog. You can find the original recipe here. All credit to Darcy. This is my attempt.
So let's begin. First off- ingredients.
You will need: (FYI I ordered all my materials from The Soap Kitchen. I'll link each ingredient on the list). You can change the amounts to suit you. I've put the amount I used for my project.
A block of clear glycerin (I chose 500g)
A block of white glycerin (I chose 500g)
Peppermint Essential Oil (I chose a 10ml bottle- which was more than enough. A 5ml bottle would probably be fine for this project).
Red Food Colouring or Soap Dye (I bought soap dye. 10ml was more than enough).
A mould for your soap (It's the first one. Reference: 655. I chose the medium one, which was way bigger than what I wanted. I'd definitely pick the small one next time. You can use bowls or anything you have around the house, but moulds are easier to remove the soap from).
How to Make:
 1. The first thing you're going to do is melt both the glycerin blocks in the microwave (in separate containers obviously). Place both containers (if you're microwave is big enough) in, and heat for 40 seconds. Continue to heat with 20 second intervals, until the blocks are completely melted. This will probably take a few minutes.
 2. Mix your red dye into the clear glycerin (I used toothpicks to do this just in case) until you've reached the desired colour.
 3. Add a few drops of peppermint oil to both glycerins, until you've reached your desired amount of peppermintiness.
4. Next pour whichever colour you want to have on the top of your soap into the mould. I used white first. You
 can create as thick or thin a layer as you want. I wanted multiple layers, so tried to keep my layers thin. You want to wait a few minutes for the layer to set. I waited five- which I don't think was long enough, as the layers mixed a little. I would suggest waiting ten minutes for each layer to set, unless you want the colours to mix. Repeat this step until you have a completed mould of layers.


I had some glycerin left over, so I decided to pour one layer each of white and red into a small bowl- to create a kind of snow globe shaped soap.
5. Leave you soap to set. I left mine overnight to be on the safe side. Then you can just pop your soap out of the mould. A tip for those who want to use their own moulds from bowls, etc. The soap came out of the mould easily, but I had to struggle a little bit with the bowl. I had to use a knife to cut around the edges, and then a spoon to lever it out. It's not that difficult, but it's best to know these things.
6. Now you can finish with the last step, or you can follow with this one. Cutting up the soap. My mould was way too big, so I used a large kitchen knife to cut it into more appropriate pieces. All very easy. Here's the finished product:


Now, please bear in mind that this was my first ever attempt at soap making, and I was learning as I went. I have a few tips for how I would do things differently if I could do it again, but at least you can make those tips useful. I used a recipe from the Land of Nod blog. You can find the original recipe here. All credit to Darcy. This is my attempt.
So let's begin. First off- ingredients.
You will need: (FYI I ordered all my materials from The Soap Kitchen. I'll link each ingredient on the list). You can change the amounts to suit you. I've put the amount I used for my project.
A block of clear glycerin (I chose 500g)
A block of white glycerin (I chose 500g)
Peppermint Essential Oil (I chose a 10ml bottle- which was more than enough. A 5ml bottle would probably be fine for this project).
Red Food Colouring or Soap Dye (I bought soap dye. 10ml was more than enough).
A mould for your soap (It's the first one. Reference: 655. I chose the medium one, which was way bigger than what I wanted. I'd definitely pick the small one next time. You can use bowls or anything you have around the house, but moulds are easier to remove the soap from).
How to Make:


4. Next pour whichever colour you want to have on the top of your soap into the mould. I used white first. You


I had some glycerin left over, so I decided to pour one layer each of white and red into a small bowl- to create a kind of snow globe shaped soap.
5. Leave you soap to set. I left mine overnight to be on the safe side. Then you can just pop your soap out of the mould. A tip for those who want to use their own moulds from bowls, etc. The soap came out of the mould easily, but I had to struggle a little bit with the bowl. I had to use a knife to cut around the edges, and then a spoon to lever it out. It's not that difficult, but it's best to know these things.
6. Now you can finish with the last step, or you can follow with this one. Cutting up the soap. My mould was way too big, so I used a large kitchen knife to cut it into more appropriate pieces. All very easy. Here's the finished product:


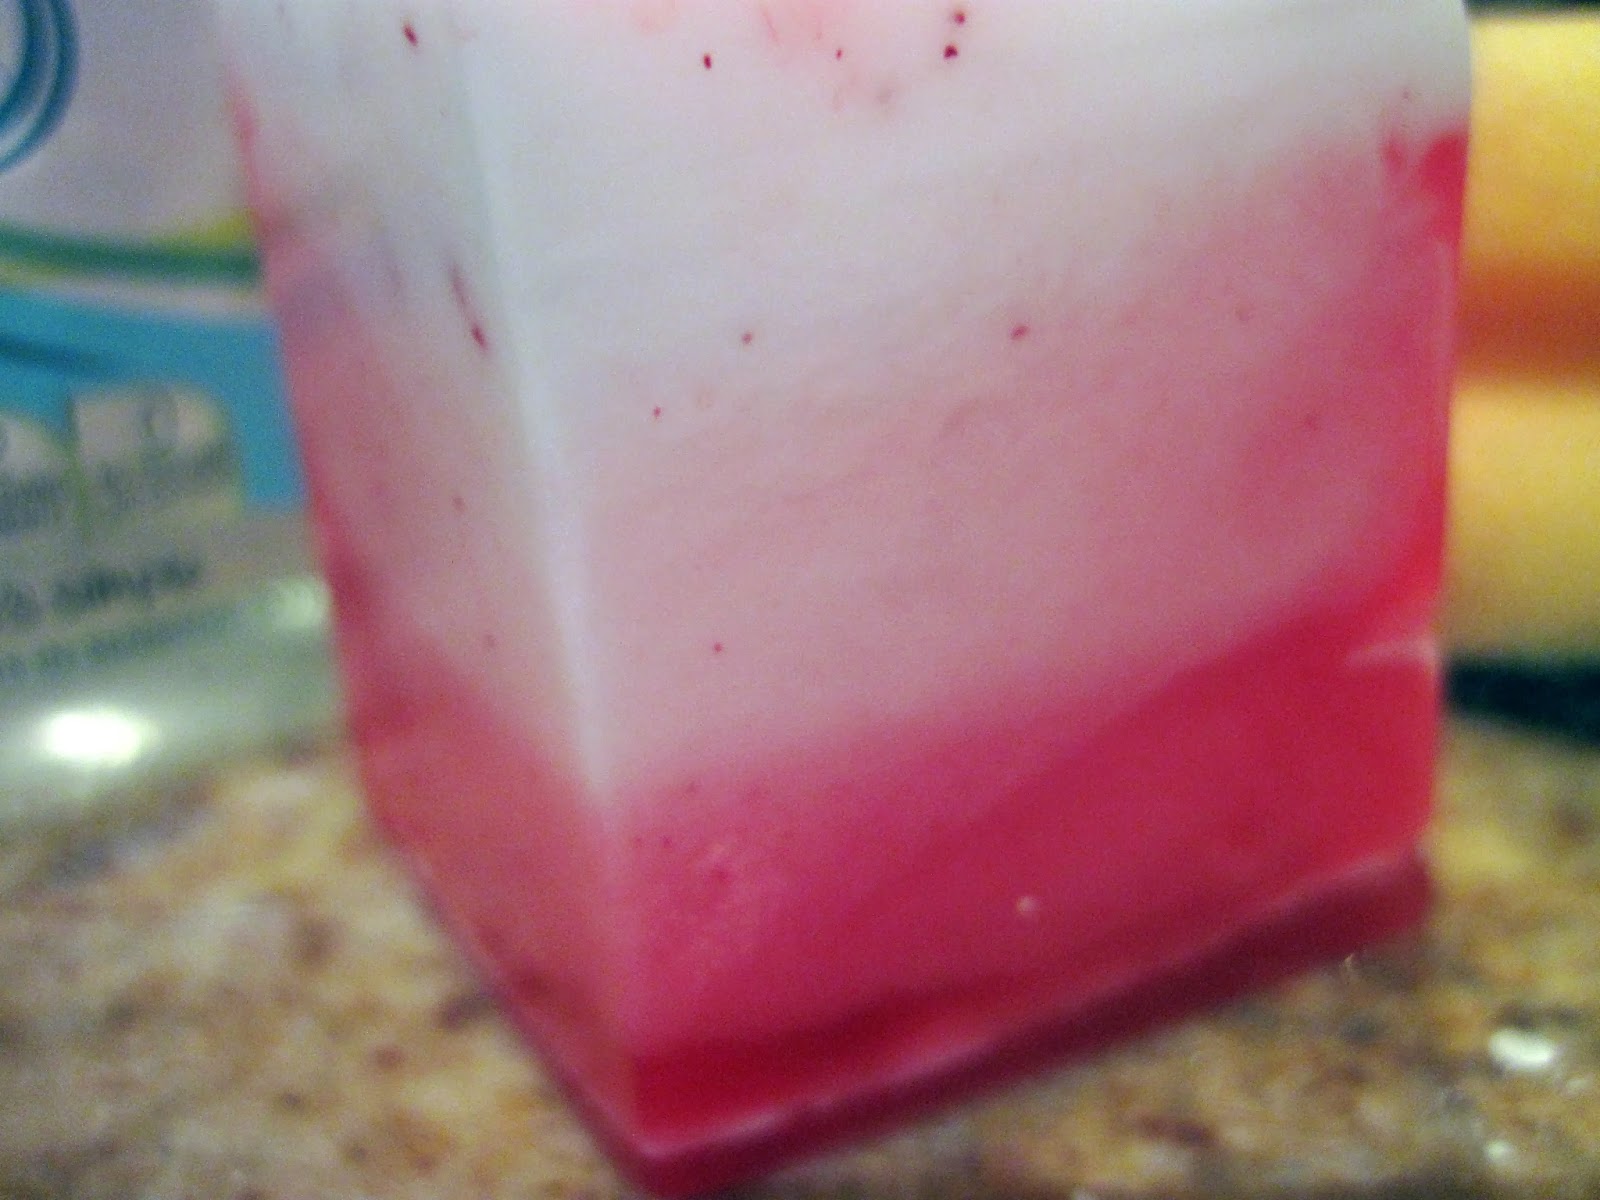
And that's all there is to it. You can see my layers are not so clean cut, and mixed a little, but as I said, longer waiting times between pouring in new layers would easily solve this problem. As to how the soap washes? It lathers well, and cleans well- though I would say it maybe leaves a thin film on the skin.
I hope you all enjoyed today's instalment of Advent Countdown. See you tomorrow for Day 12.
No comments:
Post a Comment